In This Article 6 sections
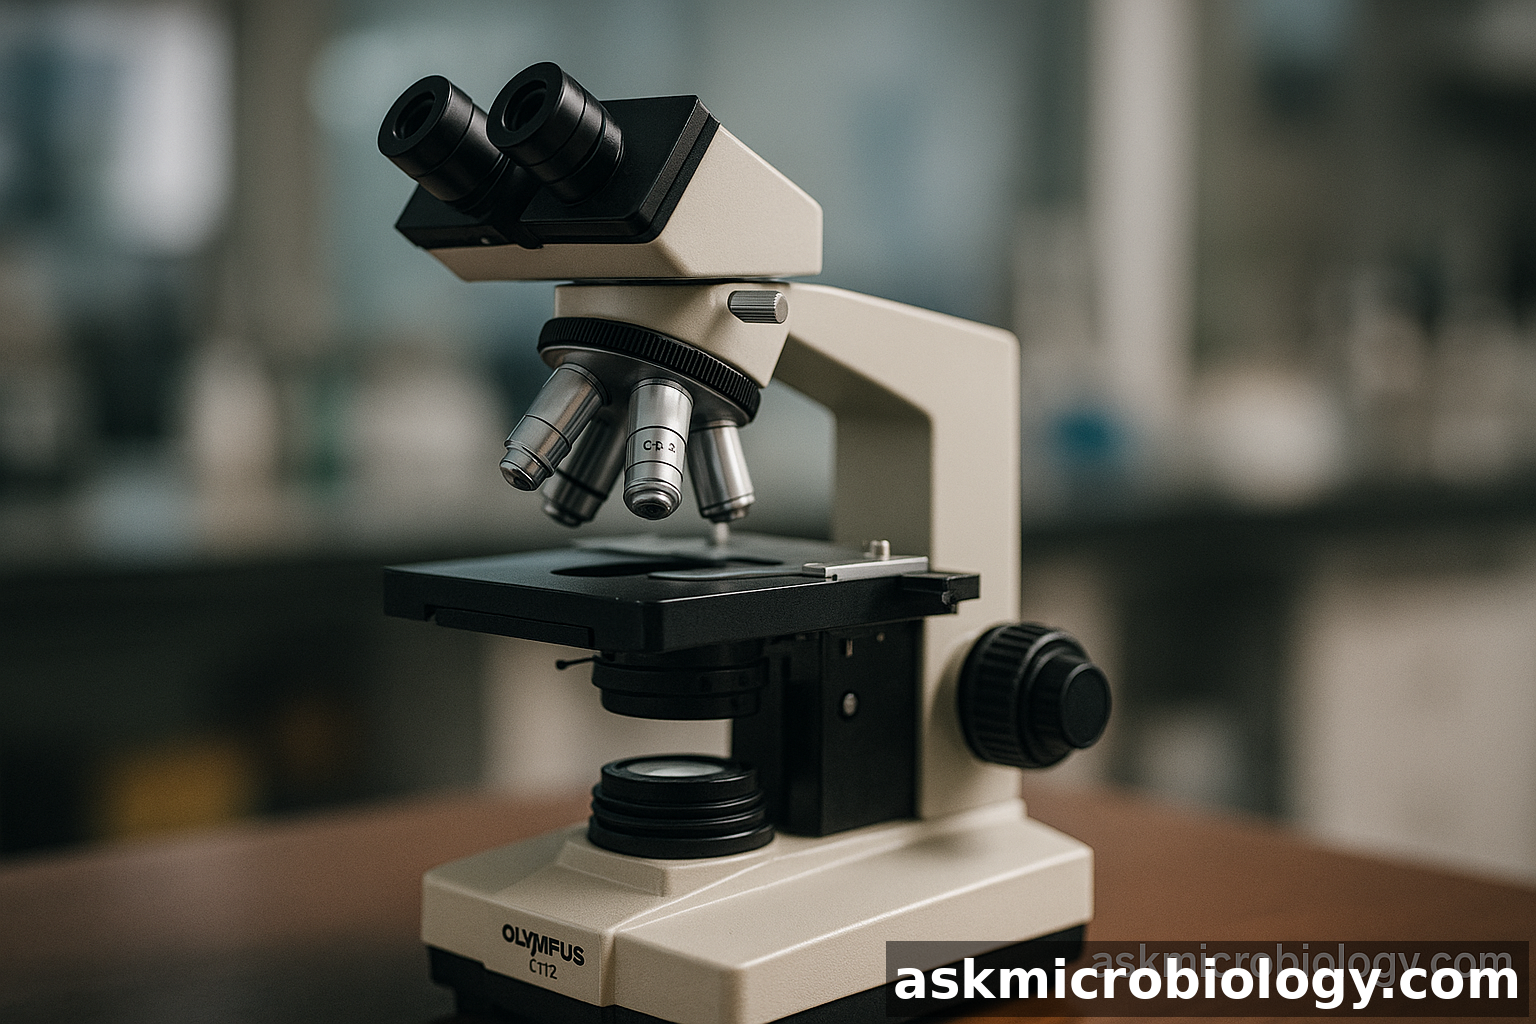
Overview of the Olympus CH‑2 Series
Released in the late 1980s, the Olympus CH‑2 quickly became a staple in teaching laboratories. A 2023 LabX equipment survey reported that 27 % of U.S. colleges still rely on CH‑2 frames for introductory biology courses.
Main Parts and Their Functions
| Component | Description |
|---|---|
| Eyepiece (10× WF) | Provides a wide field of view for comfortable observation. |
| Binocular Head | Adjustable interpupillary distance; rotates 360° for sharing views. |
| Nosepiece | Holds up to four objectives; click‑stops ensure parfocal alignment. |
| Objectives (4×‑100×) | Plan Achromat lenses deliver up to 0.90 NA for crisp images. |
| Stage | Graduated mechanical stage with 0.1 mm vernier scale. |
| Condenser (Abbe 1.25 NA) | Focuses light onto the specimen; includes iris diaphragm. |
| Illuminator | 6 V/20 W halogen lamp; brightness control extends bulb life by 30 %. |
Performance Statistics
- The CH‑2’s optical efficiency reaches 85 % transmission at 550 nm (Olympus datasheet).
- Mean resolution with a 40×/0.65 objective is 0.42 µm, suitable for bacterial morphology.
- Upgrading to LED retrofit kits can reduce energy consumption by 60 % (Microscope Services Inc., 2024).
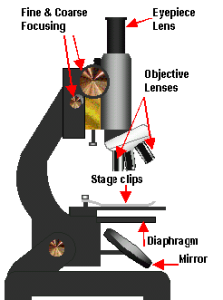
Labeled Diagram
The image above highlights the critical parts. Encourage students to trace the light path—eyepiece → objective → specimen → condenser → illuminator—to reinforce optical principles.
Maintenance Tips
- Clean objectives with lens paper moistened with 70 % ethanol; avoid acetone.
- Store the microscope with the 4× objective in position to protect higher‑power lenses.
- Replace halogen bulbs after 1,000 hours to maintain consistent color temperature.
Conclusion
Whether you are a 10th‑grade biology enthusiast or a professional histologist, mastering the Olympus CH‑2’s anatomy ensures sharper images and longer equipment life.